Showing posts with label #DT Robyn Leeanne. Show all posts

Tuesday, December 21, 2021

Christmas Layout

Merry Christmas
 I hope you are all ready and excited to be having time with family and friends at this time of the year.
Robyn LeeAnne from Scraptease here today with a pretty simple Christmas layout again using leftover Kaisercraft papers so I can get new ones. 😄😄😄

I have chosen a paper from a Kaisercraft collection that is very plain other than the pretty Christmas tree on the right side of the paper, to which I added some sequins for added decoration.
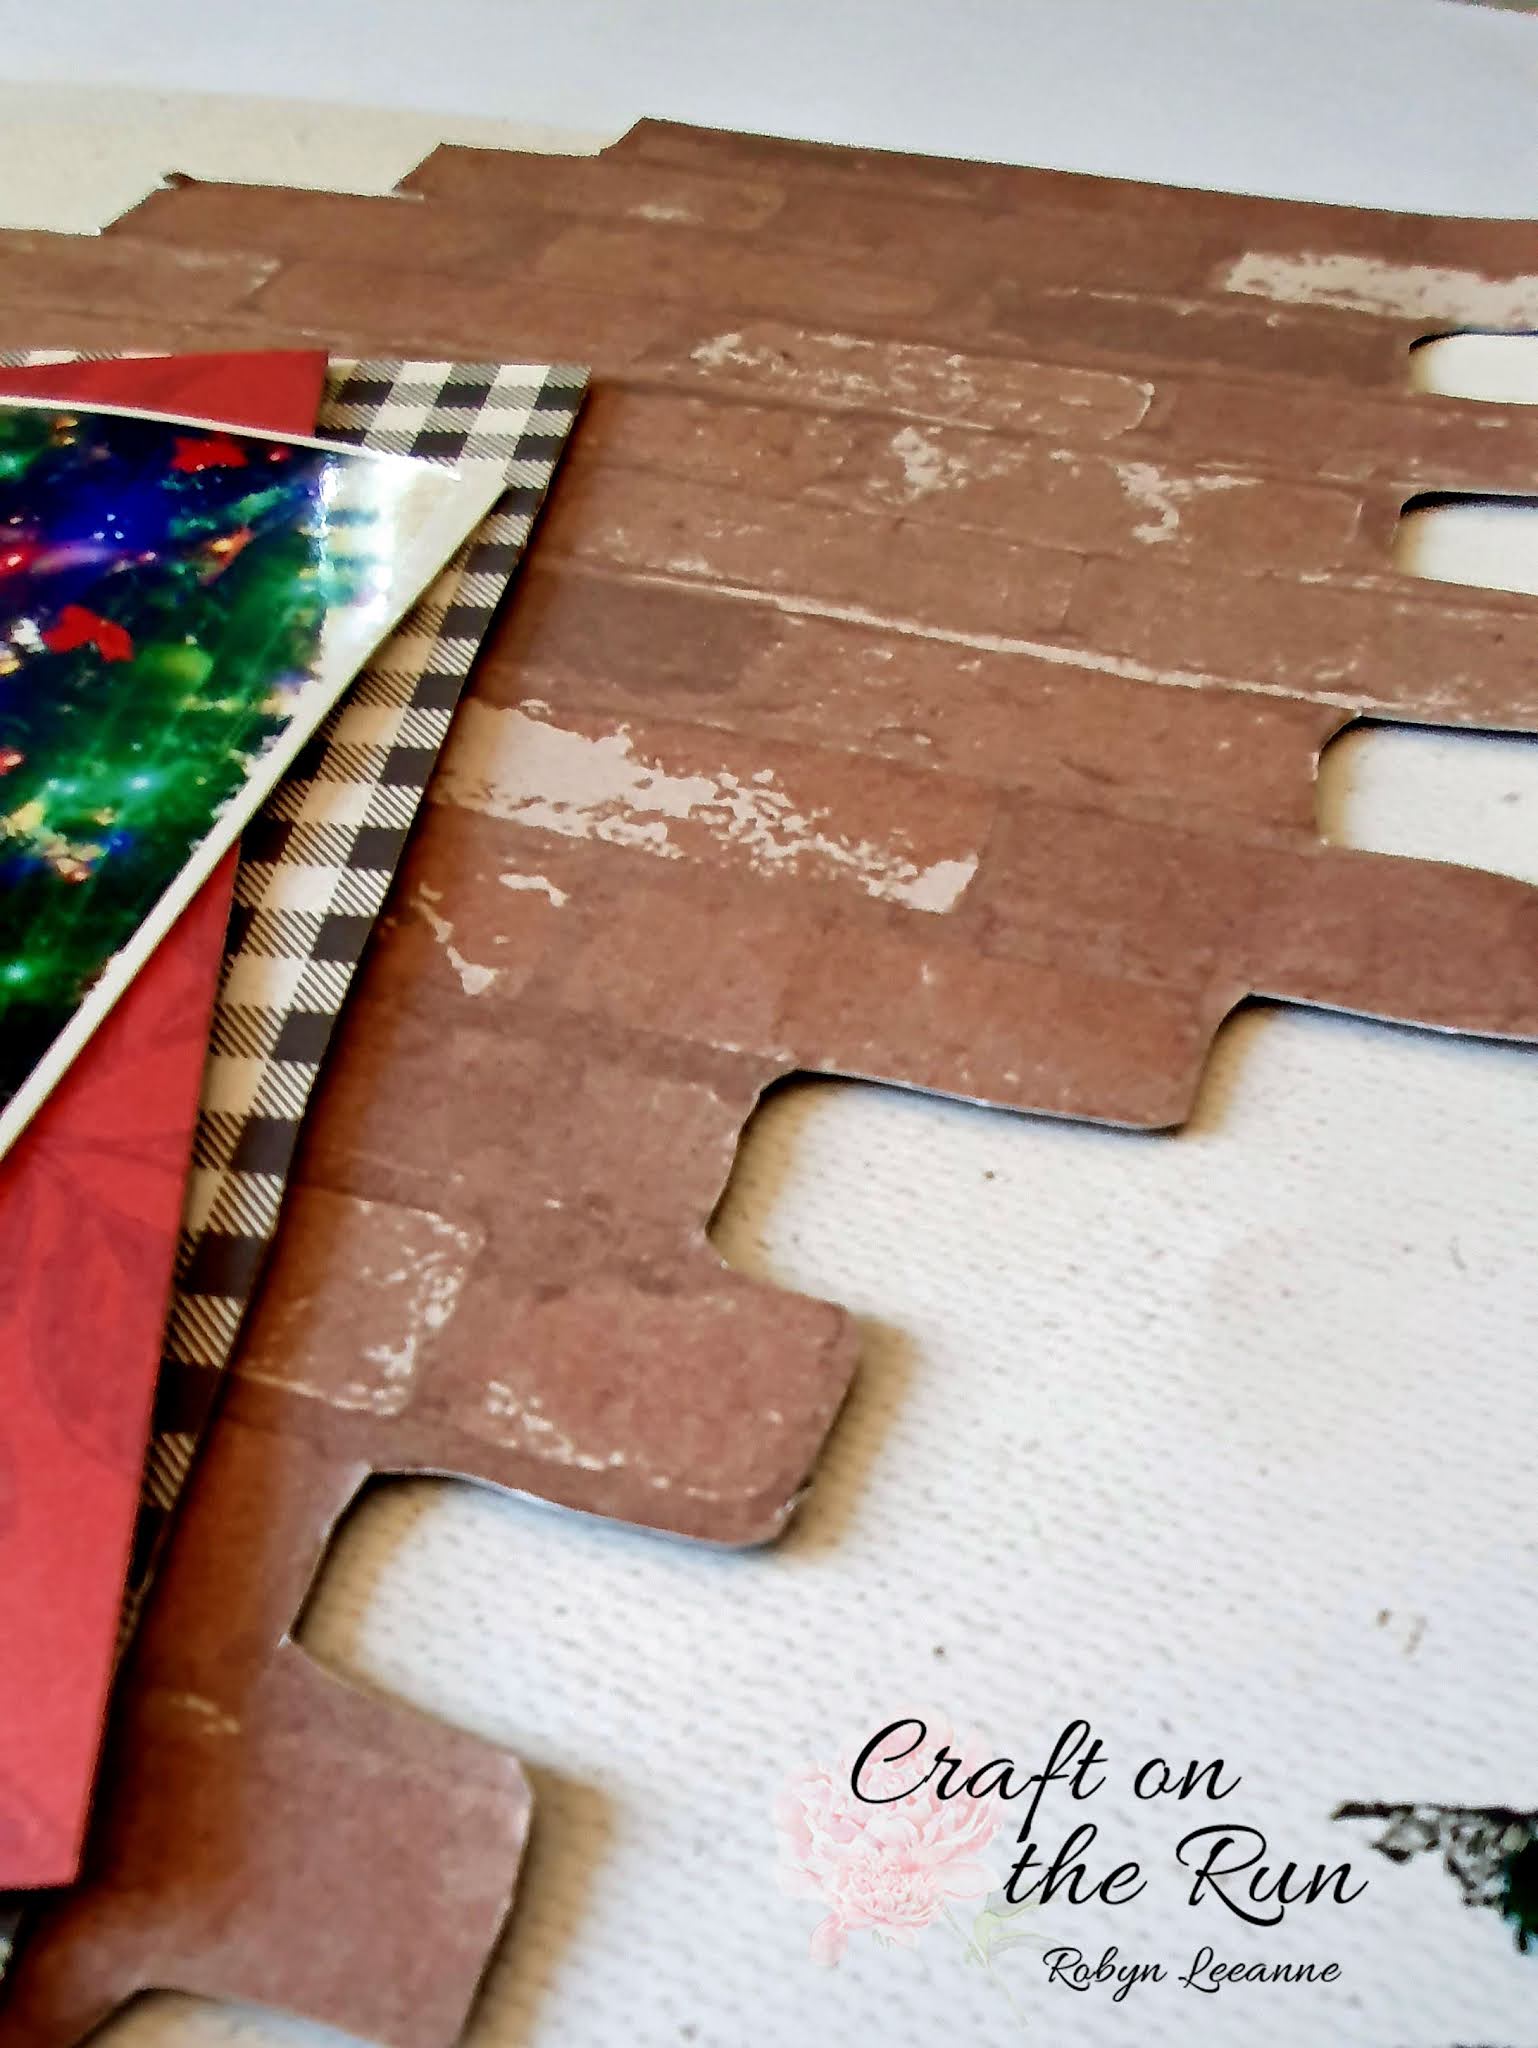
I fussy cut the brick paper from another paper and mounted that with foam mount tape.
 I have cut 2 mats for the photo and placed them in differing directions for added attraction. To finish off I added a strip of check across the bottom with a strip of washi tape along with a fussy cut banksia flower and a chipboard title on the photo.


I hope this has inspired you to grab your older collections get them used up and jump over to Craft on the Run and see what's new in store

 FROM MY FAMILY TO YOURS MERRY CHRISTMAS EVERYONE!

 Thank you so much for stopping by.


 I do hope you find inspiration in your day to craft.
Until next time my friends CRAFT ON!!


Please make sure to stop by my socials for more inspiration.

Scraptease Creative Inspiration | Facebook

Saturday, December 11, 2021

Christmas Cards 3


Robyn Leeanne here from Scraptease with you today with some Christmas cards I made using old leftovers from Kaisercrafts Christmas collections.
 I have decided that before I buy anymore Christmas papers I must first use up what I have so here you go. Merry Christmas!
There is still nothing better than a handmade card that is made with love.

Card 1
Made with a Kaisercraft blank red card to start, I cut a piece of contrasting paper slightly smaller than the front of card.
Using a decorative corner punch I punched each corner.
Before sticking that down I added a line of thin washi tape across the top and bottom of the paper.
Then stuck that in the center of the card.
 I added a postcard from the postcards sheet in the collection along with a few gold spots in each corner and a couple of red ones for the holly berries.


Card 2
This card is not dissimilar from the first one with the front piece being cut slightly smaller than the card front and using a corner punch on the each corner this was then stuck down.
Using a postcard picture again I matted it with a glitter cardstock and mounted that with foam mount tape in the center of the front of the card.
I had a small strip of paper leftover so I cut it into 3 strips and staggered them horizontally on the front of the card.
Finished with fussy cutting the banksia flower and mounted that to the left of the center picture and added a few diamond shaped gems.


Card 3 
Using a slimline card I have cut a red glitter cardstock piece to be slightly smaller than the front of the card.
 I have then cut the picture from a sheet of the paper from the collection to be slightly smaller than the glitter cardstock.
 I have mounted the picture onto the glitter cardstock using foam mount tape and the stuck the glitter cardstock on the front of the card.
 I then added a nice verse matted with a checked paper to the front of the card and a strip of the checked paper across the bottom.
 Finished with a couple of small red gems and some thin red ribbon across the bottom with a gold stone.


I hope this has inspired you to make your Christmas cards for family and friends this year.
More importantly have fun and do it with love.
 Thank you so much for stopping by.

 I do hope you find inspiration in your day to craft.
Until next time my friends CRAFT ON!!


Please make sure to stop by my socials for more inspiration.

Scraptease Creative Inspiration | Facebook

Saturday, November 20, 2021

Christmas Cards 2

  Hello again Chit Chatters.... Robyn Leeanne here with 3 more Christmas cards made using the Christmas Gnome collection from Maja Designs.


Christmas is catching up to us very quickly now so I thought making more Christmas cards would be the way to go with this blog. 
As I said last time there are so many different ways to personalize a card these days, written messages in store bought cards, there are cards sent via email but I still think homemade is best. Its nice to think that someone has sat and thought about all the good times while making you a special card. Don't you agree?
Card 1
Shaker Card
To make this card I used frames cut with a die from contrasting papers from the collection and layered them. 
Using foam mount tape and acetate I created the window for the shaker pieces (Glass cabochons and Glitter). Cut out a Gnome and added to the bottom side of frame and added the chipboard title for the card.

Saturday, November 6, 2021

Christmas Cards

 Robyn Leeanne here from Scraptease with 3 pretty cards made using the Christmas Gnome collection from Maja Designs.


As its getting close now to Christmas I thought that making cards would be fun to start thinking about now. 
There are so many different ways to personalize a card these days and homemade is, I think, always so much more thoughtful. So much love and thought goes into making a personal Christmas card and you know when you receive one that you have been thought about and loved. Don't you agree?

Card 1
Shaker Card

To make this card I used frames cut with a die from contrasting papers from the collection and layered them. 
Using foam mount tape and acetate I created the window for the shaker pieces. Cut out a Gnome and added to the front side of frames and the little title for the card.
 Inside I used a similar gnome on a tag piece from the collection so as it showed through the front of the card. 

Card 2
Slimline Shaker Card

Using a slimline card from Uniquely Creative I created this card.
I have used a diecut frame again with foam mount and acetate to create the shaker and used glitter in the shaker this time.
I have added gold washi tape and the little Merry Christmas Washi tape to the top and bottom of the card along with some pearls spots to bling it up a little.

Card 3
Slimline Card

Again using a slimline card to create this card I have used a piece of the paper cut slightly smaller than the front of the card and stuck down. I have then cut a postcard from the paper that contains the 12 postcard size pictures mounted that on a mat and then mounted that using foam mount tape to the front of the card. Added a small piece of the Merry Christmas Washi tape to the bottom of the postcard picture and a strip of the gold washi tape to the top and bottom of the frame.
I hope this has inspired you to make your Christmas cards for family and friends this year with this Maja Christmas Gnome Collection.

Thank you so much for stopping by.

 I do hope you find inspiration in your day to craft.
Until next time my friends CRAFT ON!!


Please make sure to stop by my socials for more inspiration.

Scraptease Creative Inspiration | Facebook

Saturday, October 23, 2021

Original Duo

Robyn Leeanne here from Scraptease today, I hope you are well and crafting your little hearts out.
Well today I have for you a layout to inspire you using not only the beautiful Dew Drops but the page was also made up with Washi Tape.

I have put lengths of tape across the center of white cardstock the torn a patterned paper into 2 pieces and stuck them either side of the Washi Tape giving the effect of the paper being torn open.


Then all that has been added is the Photo and mat also the title and a mat for the title.
And of not forgetting the beautiful Dew Drops that have been added to.


Please do be inspired to use these they are so pretty. 

Thank you so much for stopping by.

 I do hope you find inspiration in your day to craft.
Until next time my friends CRAFT ON!!

Tuesday, August 24, 2021

Ancestry Layout.

Hello my crafty friends

Today I have a double Layout with multiple photos for you.
I am using the Simple Stories "Vintage Ancestry" collection for this layout.

Recently I had done some digging into the family's past and this helped this layout come together really well.


Using multiple photos in a double layout is great for telling the whole story all at once. I usually do a cover type page then a double with multiple and then you have a booklet of the whole story.


As you can see the paper I chose has an ancestry layout on it which of course made it much easier. 


It took me a while to lay this out as the frames.


I cut my title from one the postcard size pictures on one the papers.


Decorated with some foam stickers and normal stickers along with some red pearl dots


Then I cut down the center ready for its sleeve in the album.


The Final Layout


All product used are available at Craft on the Run: